
Choosing the Perfect Paver Contractor Near Me for Your Pool Deck Pavers
When it comes to transforming your backyard into an oasis, pool deck pavers are an excellent choice. They not only enhance the aesthetic appeal of your outdoor space but also provide durability and safety. However, to ensure your pool deck pavers are installed correctly and to your satisfaction, you need the right paver contractor near […]
Enhancing Your Home’s Appeal with Paver Driveways and Patios in San Ramon

Introduction: San Ramon, nestled in the picturesque landscapes of California, boasts an idyllic setting for homeowners looking to enhance their outdoor spaces. Paver driveways and patios are gaining popularity as the go-to choice for transforming these areas into stunning focal points. In this blog, we’ll explore the benefits of paver driveways and patios in San […]
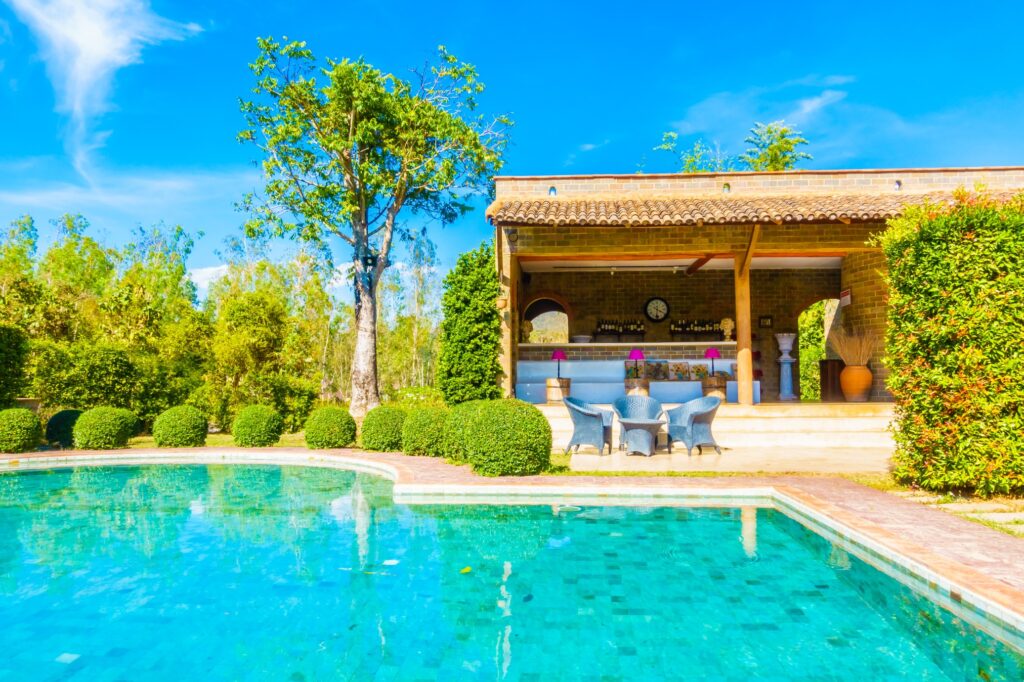
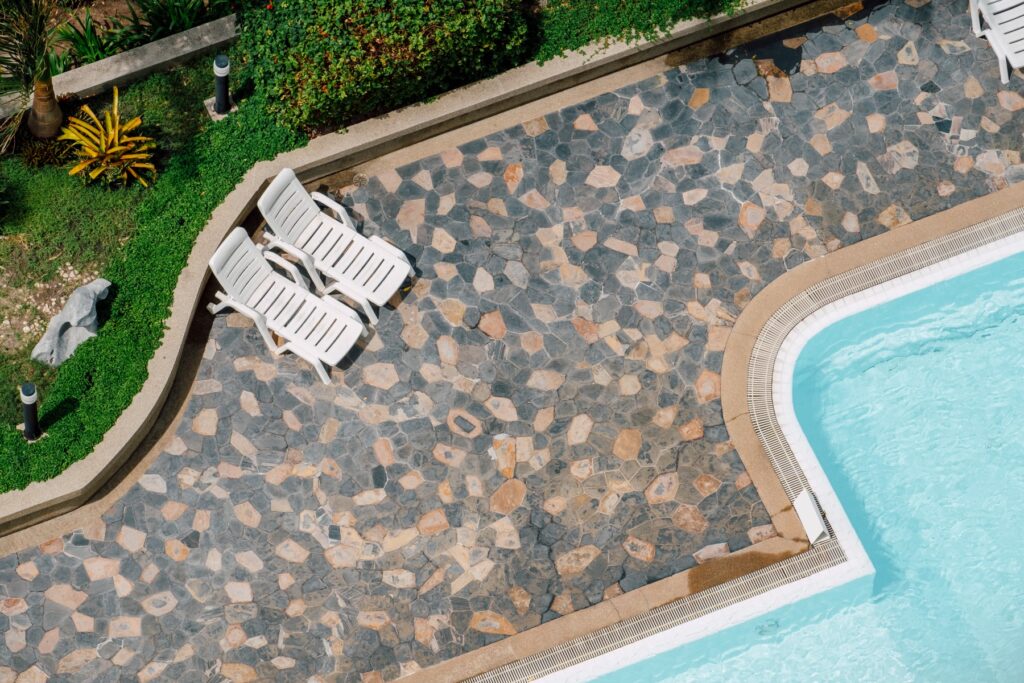
Perfect Pool Deck Pavers in CA: Your Trusted Paver Contractor near Me
Are you dreaming of transforming your backyard into an oasis of relaxation and entertainment? A stunning pool deck with the Perfect pool deck pavers in CA, California can be the key to turning that dream into reality. When it comes to choosing the perfect pool deck pavers and a reliable paver contractor near you in […]
Enhance Your San Ramon Home with Stunning Paver Patios and Driveways
When it comes to enhancing the beauty and functionality of your home in San Ramon, paver patios and driveways are an excellent choice. Enhance Your San Ramon Home with Stunning Paver Patios and Driveways These versatile hardscape features not only add aesthetic appeal but also offer durability and easy maintenance. In this blog, we’ll explore […]
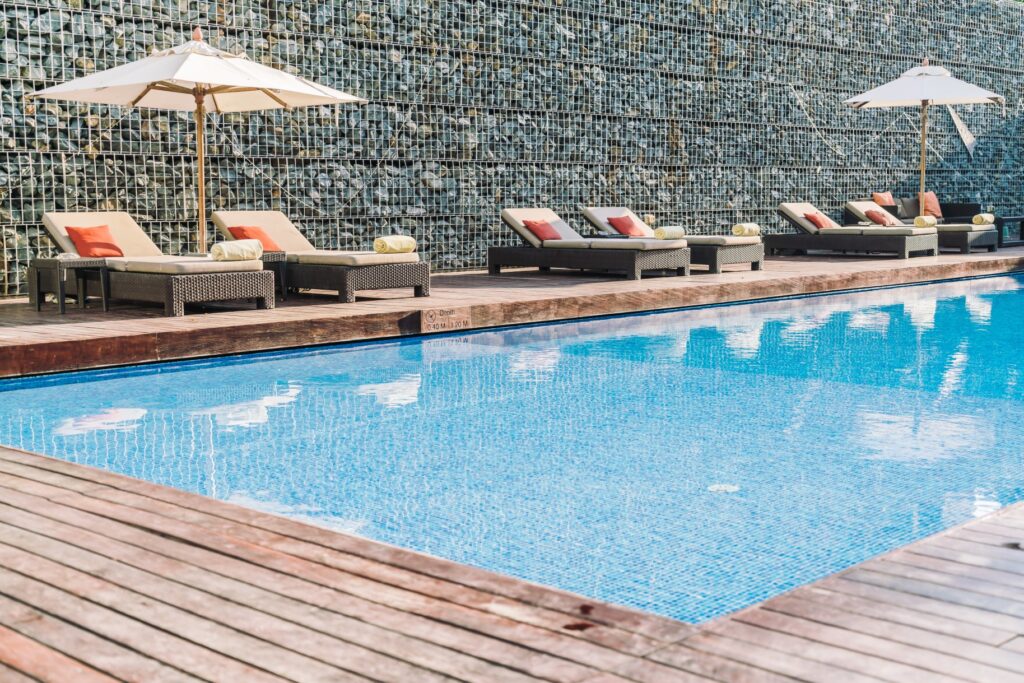
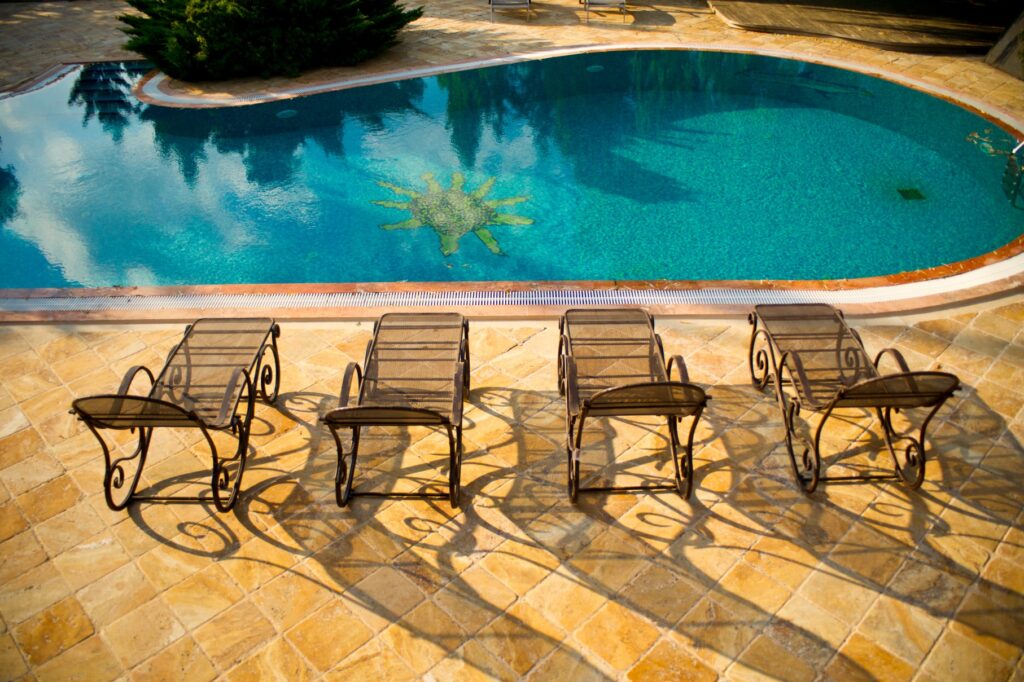
Enhancing Outdoor Spaces: Paver Patios and Pool Deck Pavers in California

California’s year-round mild climate and stunning landscapes make it an ideal place to embrace outdoor living. Whether you’re looking to create a serene retreat in your backyard or elevate the ambiance around your pool area, paver patios and pool deck pavers offer the perfect solution. These versatile materials not only add beauty to your outdoor […]
Home with Stunning Paver Patios and Driveways in San Ramon
When it comes to enhancing the aesthetics and functionality of your residential property in California, investing in pavers for your patios and driveways can be a game-changer. Pavers offer a versatile, durable, and visually appealing solution that complements the natural beauty of the Californian landscape. In this blog post, we will explore the benefits of […]
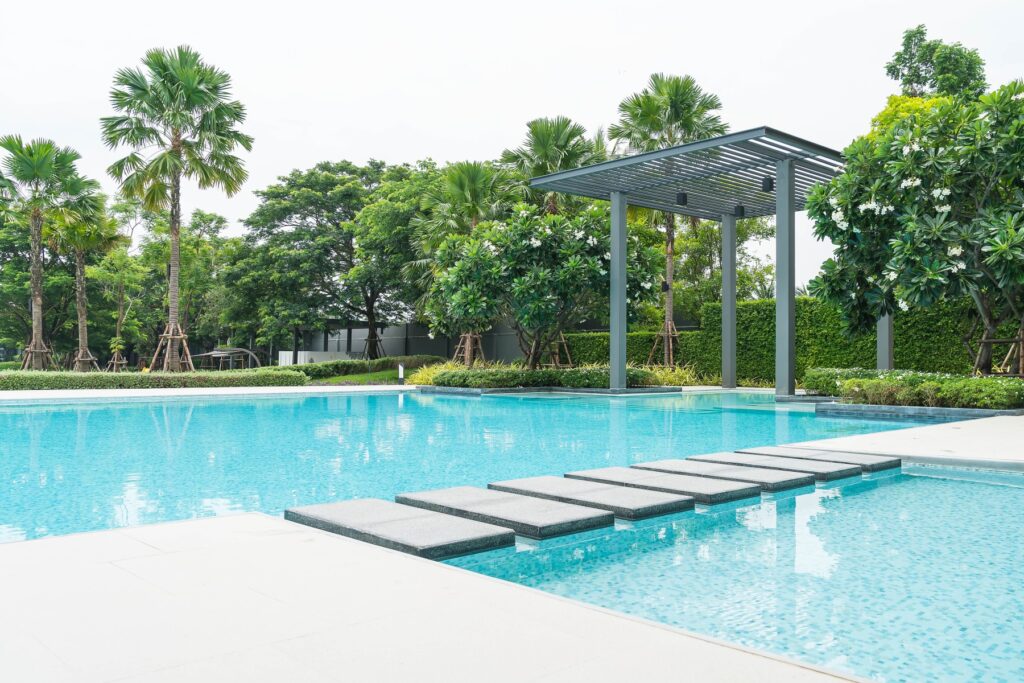
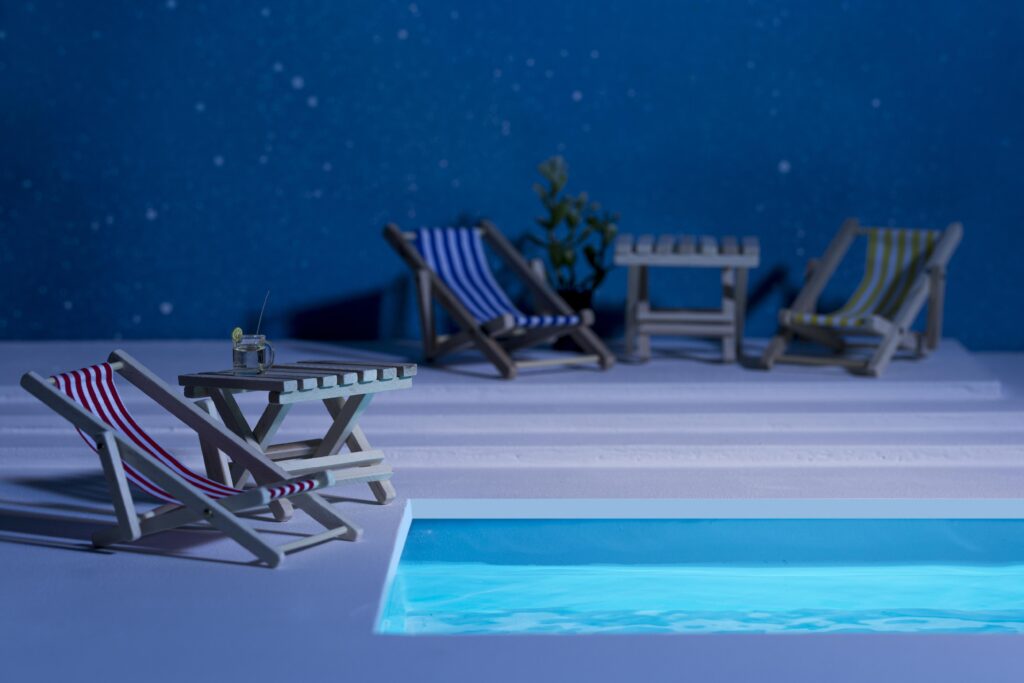
Enhance Your California Pool with Stunning Paver Decks in CA

When it comes to creating a captivating poolside oasis in California, few things compare to the elegance and functionality of paver pool decks. These exquisite additions not only add a touch of luxury to your outdoor space but also provide a safe and durable surface for your pool area. Let’s dive into the world of […]
Paver Patios and Pool Deck Pavers In California
When it comes to elevating the aesthetics and functionality of outdoor spaces, few options are as versatile and appealing as paver installations. In the beautiful city of San Ramon, California, residents have discovered the magic of paver patios, pool deck pavers, in California and paver driveways. These elements not only enhance the visual appeal of […]
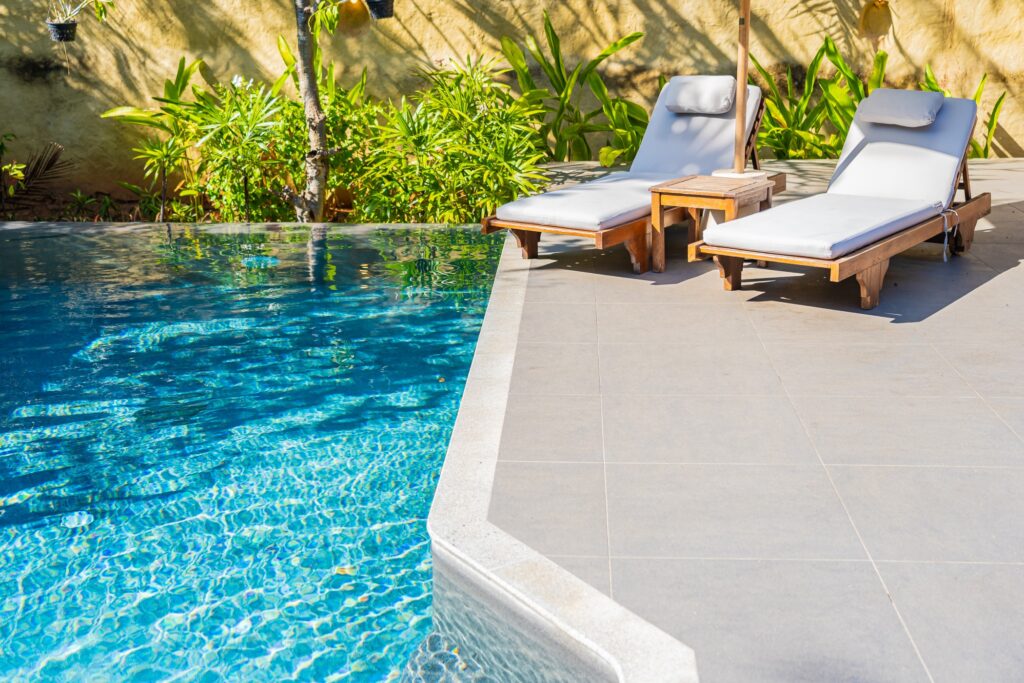
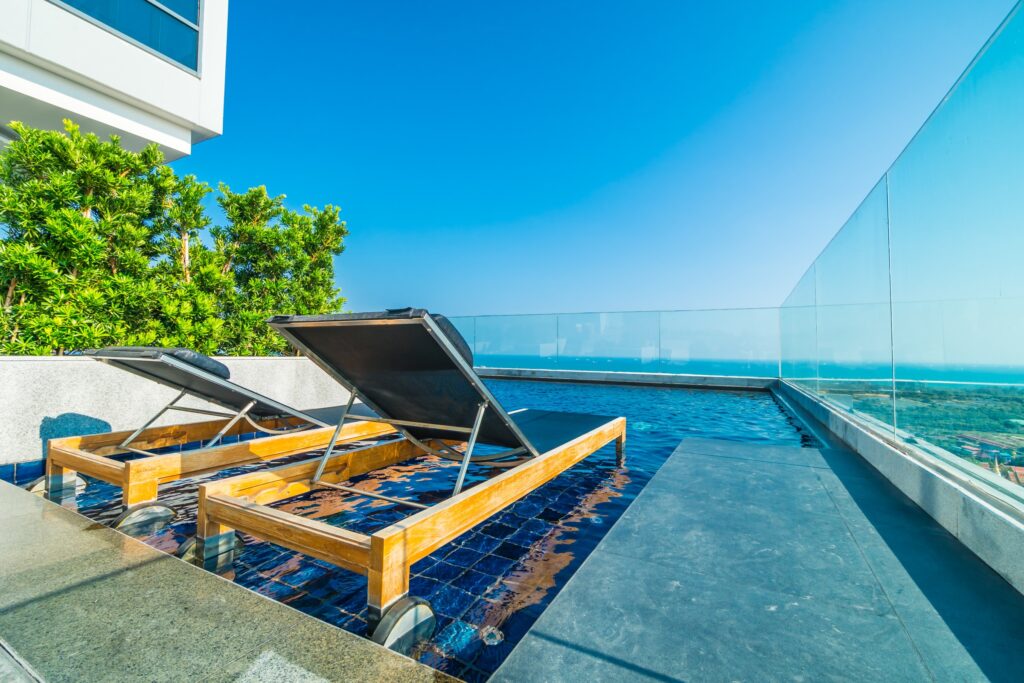
Enhance Your Outdoor Oasis with Paver Pool Decks in San Ramon, CA
When it comes to creating a picturesque outdoor space that seamlessly combines functionality and aesthetics, paver pool decks have gained immense popularity in San Ramon, California. These versatile and stylish installations not only elevate the visual appeal of your pool area but also offer a range of practical benefits. In this blog, we’ll explore why […]
Enhance Your Outdoor Space with Expert Paver Contractors in California
Are you envisioning a beautifully designed outdoor area that seamlessly blends aesthetics with functionality? Look no further! Our expert paver contractors bring your dreams to life with stunning paver patios and pool deck pavers right here in California. Paver Contractor Near Me: Creating Outdoor Masterpieces When searching for a reliable “paver contractor near […]
Enhance Your California Home with Stunning Residential Pavers and Driveways in San Ramon
Are you looking to elevate the curb appeal of your California home? Look no further than the exquisite residential pavers and driveways available in San Ramon. With their versatility, durability, and aesthetic appeal, paver driveways are an excellent choice for homeowners seeking to enhance their property’s overall look and functionality. In this article, we’ll explore […]
Dream Yard Wish List

Figure out what you would like to change or add to your yard. (i.e. new patio, BBQ island, fire pit, arbor, Cabana, lawn, planting area, pool, spa, seat wall, retaining wall, mow band, fountain). You and your partner should take time to walk your entire yard, and discuss your wish list. Ideas for a completed […]
Meet the Designer

There are many landscape/designers available in your area. First, you could get some referrals from someone that has used a particular designer in the past that you have seen, their design ideas implemented into an actual installed project. If you do not have anyone on any specific project in mind, you can always call our […]
Caring for your Concrete and Masonry work

Regular maintenance and care of your concrete and masonry work is important for every home owner. Luckily, it is pretty easy to keep up as long as you know what to use. Concrete- Concrete is especially easy to maintain. Power washing about every three months is likely to keep it stain free. If there is […]
BIDDING PROCESS

Once you have finalized your plans with your designer it’s time to contact a couple of companies for installation costs. Make sure you contact licensed contractors to bid on your project. It’s important to use licensed contractors to protect yourself and your property. Licensed contractors are required by the state to carry Workman’s Compensation AND […]